Install HwameiStor on UI
This page describes how to install HwameiStor on UI.
Prerequisites
- Free HDD and SSD disks have been prepared on the nodes to be used
- Completed the items in Preparation
- If you need to use high-availability data volumes, please complete DRBD installation in advance
- If the deployment environment is a production environment, please read Resource Requirements for Production Environment in advance
- If your Kubernetes distribution uses a different
kubeletdirectory, please confirmkubeletRootDirin advance. For details, please refer to Customize kubelet root directory.
Steps
Please confirm that your cluster has successfully connected to Container Management platform, and then perform the following steps to install HwameiStor.
-
On the left navigation bar, click Container Management —> Clusters , and find the cluster where HwameiStor is to be installed.
-
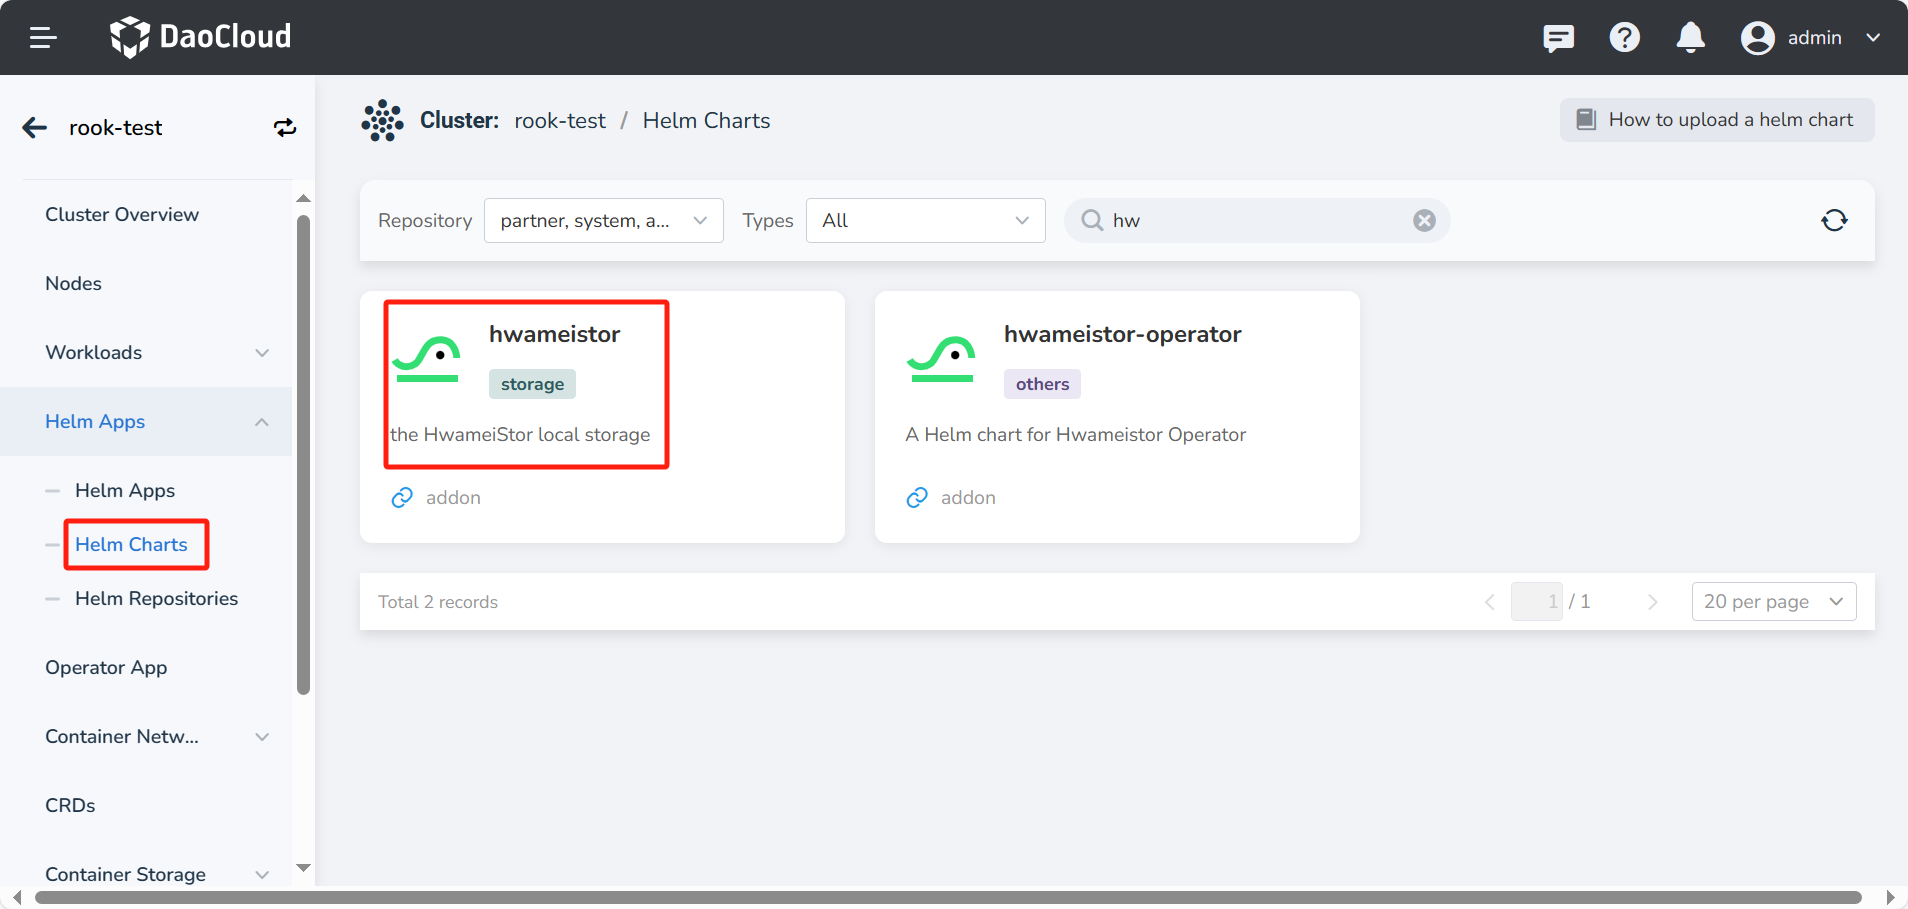
In the left navigation bar, select Helm Apps -> Helm Charts , find and click HwameiStor .
-
In Version , select the version you want to install, and click Install .
-
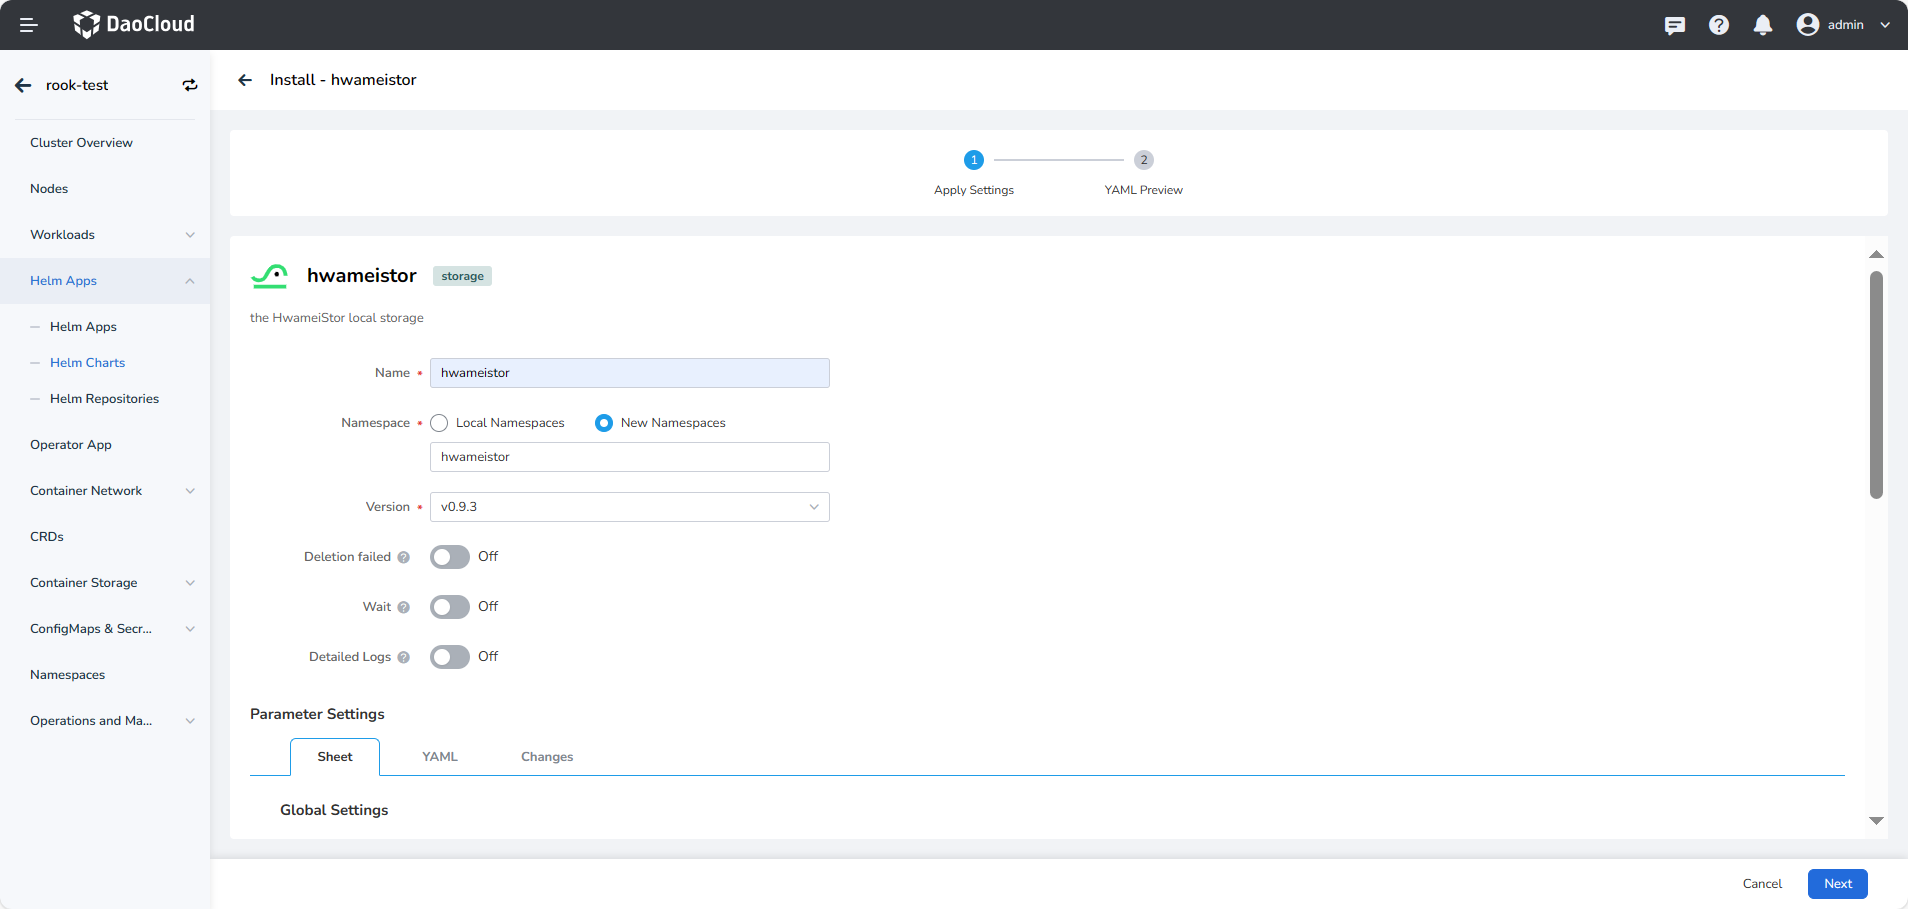
On the installation UI, fill in the required installation parameters. If you need to deploy a production environment, it is recommended to adjust the resource configuration: Production environment resource requirements.
-
Global Setting—>global container registry:Set the registry addresses of all images, and the available online registrys have been filled in by default. If it is a private environment, it can be modified to a private registry address.
-
Global Setting—>K8s container registry:Set the address of the K8s container registry, and the available online registry has been filled in by default. If the environment is privatized, it can be modified to a private registry address.
-
Global Setting—>kubelet Root Dir:The default
kubeletdirectory is/var/lib/kubelet. If your Kubernetes distribution uses a differentkubeletdirectory, the parameterkubeletRootDirmust be set. For details, please refer to Customize kubelet root directory. -
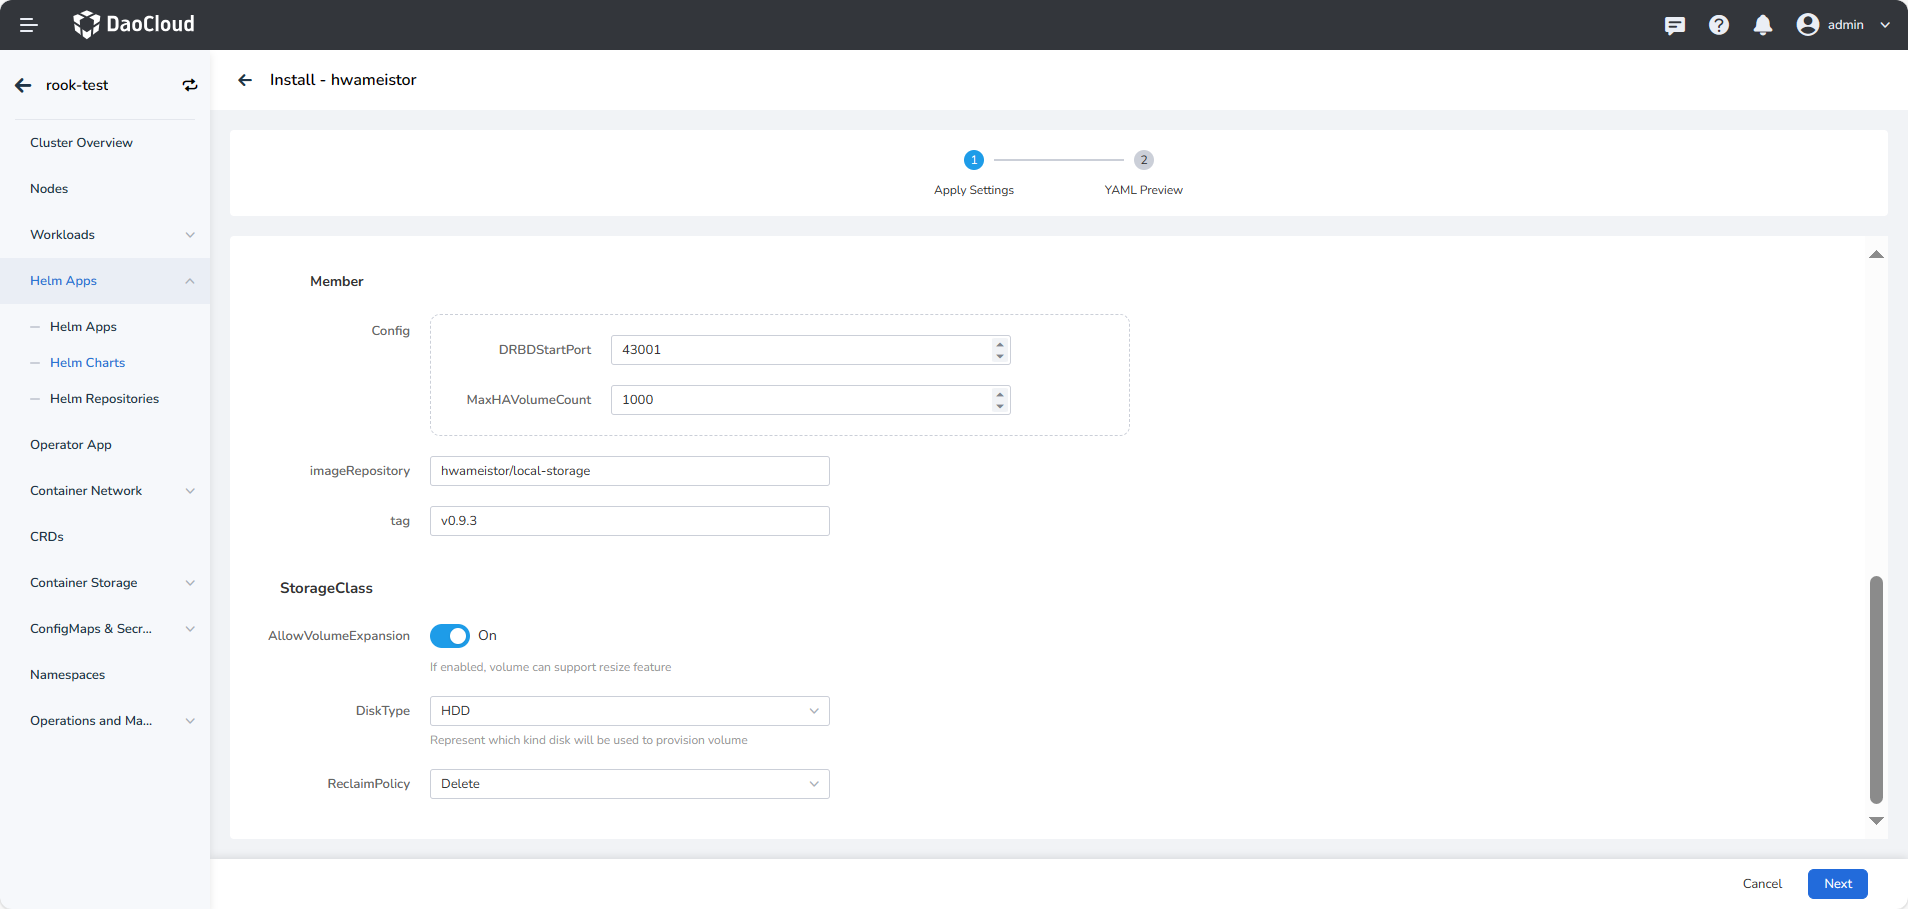
Config Settings—>DRBDStartPort:The default starts at 43001. When
DRBDis enabled, each time a high-availability data volume is created, a set of ports on the node where the primary copy data volume is located needs to be occupied. Please complete DRBD Installation before installation. -
StorageClass Configuration
After HwameiStor is deployed, StorageClass will be created automatically.
AllowVolumeExpansion: It is off by default. After it is enabled, the data volume created based on the StorageClass can be expanded.DiskType: the disk type of the created StorageClass (StorageClass), supported types are: HDD, SSD. HDD is the default.Enable HA:HAis turned off by default, that is, the created data volume is volumes without high availability, when enabled, use thisStorageClassThe created data volume can be set ashigh-availability data volume. Please complete DRBD Installation before opening.Replicas: In non-HA mode, the number ofReplicasis1. When theHAmode is enabled, the number ofReplicascan be1or2, and the number is1, which can be converted to2.-
ReclaimPolicy: When the data volume is deleted, the default data retention policy isdelete.Delete: When deleting a data volume, the data is also deleted.Retain: When deleting a data volume, keep the data.
-
-
After the parameter input is complete, click OK to complete the creation. After the creation, you can click Helm Apps to view the installation status of HwameiStor .
-
The installation is complete! To verify the installation effect, please refer to the next chapter Post-check.